
Rosedale Plumbing Journal
By The Plumbing Doc
New Year, New Pipes — Reset Your Plumbing Health
Check for Leaks and Corrosion
When it comes to plumbing, small leaks often go unnoticed—but they can cause major long-term damage. A single dripping faucet can waste hundreds of gallons of water every month, quietly increasing your bills while wearing down your fixtures and fittings.
Starting the year with a thorough inspection for leaks and corrosion is one of the simplest yet most effective ways to maintain your home’s plumbing health.
What to Look For: Step-by-Step Home Inspection
1. Examine Faucets and Showerheads
Turn on each faucet and check for steady drips or slow leaks, especially around the handles or base.
Look at shower heads for inconsistent spray patterns or water escaping from seams—these are early signs of internal wear.
Tighten connections if possible, but if the drip persists, it’s best to replace worn washers or cartridges.
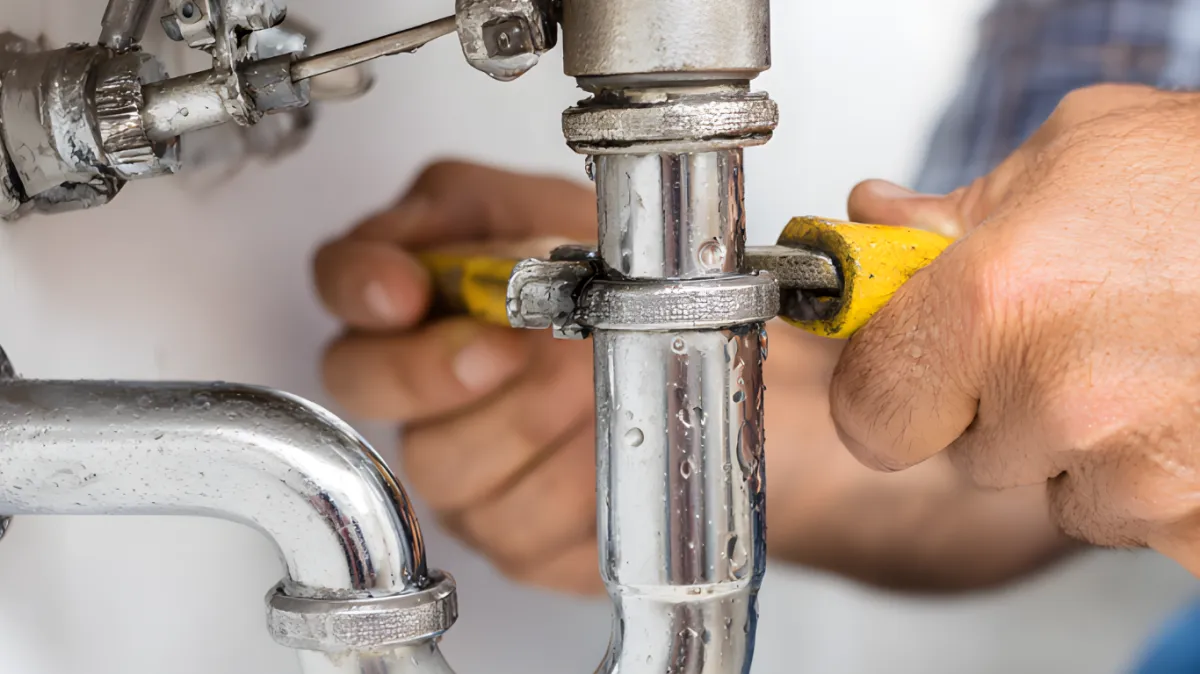
2. Inspect Visible Pipes and Valves
Look under sinks, behind toilets, around water heaters, and along exposed piping in basements or crawl spaces.
Rust, white mineral deposits, or green discoloration indicate corrosion or slow leaks at joints and fittings.
Pay attention to any dampness or staining on nearby walls or flooring—these are clues that moisture is escaping from hidden areas.
3. Check for Damp Spots and Hidden Leaks
Gently run your hand along pipes beneath sinks to feel for moisture.
Use a dry paper towel to test for subtle leaks—it will quickly reveal damp spots that might not be visible.
Inspect areas behind washing machines, dishwashers, or refrigerators with water lines—these hidden spaces are common leak sources.
4. Evaluate Water Pressure Throughout the Home
Turn on multiple fixtures (e.g., shower + kitchen sink) to gauge pressure consistency.
Low or fluctuating water pressure may point to buildup, corrosion, or small leaks inside your pipes.
If the issue affects only one area, it may be a localized blockage—but if it’s house-wide, your main line could need professional attention.
Flush and Maintain Your Water Heater
Your water heater is one of the hardest-working systems in your home—quietly providing hot water for showers, laundry, and cleaning every single day. Over time, however, mineral deposits and sediment from Bakersfield’s hard water can build up inside the tank.
This buildup reduces heating efficiency, increases energy bills, and can even cause the unit to overheat or fail prematurely.
Starting the year with a simple water heater inspection and flush is one of the best ways to extend its lifespan and ensure consistent, reliable performance all year long.
Water Heater Maintenance Checklist: Step-by-Step Guide
1. Inspect for Visible Leaks or Rust
Examine the area around the tank base, valves, and connections for any signs of moisture, corrosion, or rust stains.
Check the inlet and outlet pipes for drips or discoloration.
Look for white, chalky buildup around fittings—this can indicate slow leaks or hard-water deposits.
If you spot significant rust or moisture, call The Plumbing Doc for an expert assessment before attempting maintenance.
2. Check the Temperature Setting
Locate the thermostat on your water heater (usually behind a small access panel).
The ideal temperature is 120°F—this setting provides enough hot water for daily use while preventing scalding and saving energy.
If your temperature is higher, adjust it down to reduce wear on the heating elements and prevent unnecessary energy use.
Consider installing a temperature regulator or mixing valve for added safety if your household includes children or elderly residents.
3. Drain and Flush the Tank to Remove Sediment
Turn off the power (for electric heaters) or set the gas valve to “pilot” (for gas heaters).
Attach a garden hose to the drain valve at the bottom of the tank and place the other end outside or in a floor drain.
Open the drain valve and let the tank empty completely—this will flush out sediment buildup.
Once drained, briefly open the cold water supply to stir up and remove remaining particles.
Close the valve, refill the tank, and restore power or gas when done.
4. Test the Pressure Relief Valve (TPR Valve)
The temperature and pressure relief valve is a crucial safety feature that prevents excessive pressure buildup inside the tank.
Place a bucket under the discharge pipe and lift the valve’s lever for a few seconds—water should flow out and stop when you release it.
If no water comes out or the valve continues leaking afterward, it needs replacement by a licensed plumber.
Clean Faucet Aerators and Showerheads
Over time, Bakersfield’s hard water leaves behind mineral deposits that can quietly reduce your water pressure and flow efficiency. These deposits—mainly calcium and magnesium—build up inside faucet aerators and showerheads, restricting water flow, causing uneven spray patterns, and even increasing your energy costs as fixtures work harder to maintain pressure.
A quick mid-year cleaning can restore your water flow, improve fixture performance, and extend the lifespan of your plumbing hardware.
Step-by-Step Guide: How to Clean Aerators and Showerheads
1. Remove Aerators and Showerheads Carefully
Use your hands or a soft wrench (covered with a cloth to avoid scratching) to unscrew the aerator from the faucet or detach the showerhead from its arm.
Keep track of small parts like rubber washers or screens—they’re essential for proper reassembly.
If parts are stuck due to mineral buildup, gently loosen them using a few drops of white vinegar applied around the threads.
2. Soak Components in a Vinegar Solution
Fill a small bowl or container with a 50/50 mixture of white vinegar and water.
Submerge the aerator and showerhead completely and let them soak for 30–60 minutes.
The natural acidity of vinegar dissolves calcium deposits without damaging metal or plastic finishes.
3. Scrub and Rinse Thoroughly
After soaking, use a soft toothbrush or small cleaning brush to remove loosened debris from screens, holes, and nozzles.
Rinse each component thoroughly with warm water to clear out vinegar residue and any remaining particles.
Inspect each piece for cracks or worn washers—replace damaged components if needed.
4. Reinstall and Test for Performance
Reassemble the aerator or showerhead, making sure all washers are properly seated.
Screw it back into place by hand first, then lightly tighten with a wrench if necessary (avoid over-tightening).
Turn on the faucet or shower and check for:
Consistent water flow
Even spray pattern
No leaks or drips around connections
Whether you need a full inspection, a quick repair, or help spotting hidden leaks, The Plumbing Doc has you covered. Our experienced Bakersfield team combines expertise with advanced diagnostic tools to keep your plumbing in top shape all year long. Contact or visit The Plumbing Doctor to schedule your New Year Plumbing Health Check today.

Schedule a Professional Inspection
Ready to schedule a professional inspection? Contact us today.

Have a question? Give us a call
We are happy to answer any questions you have :)